Skip to content
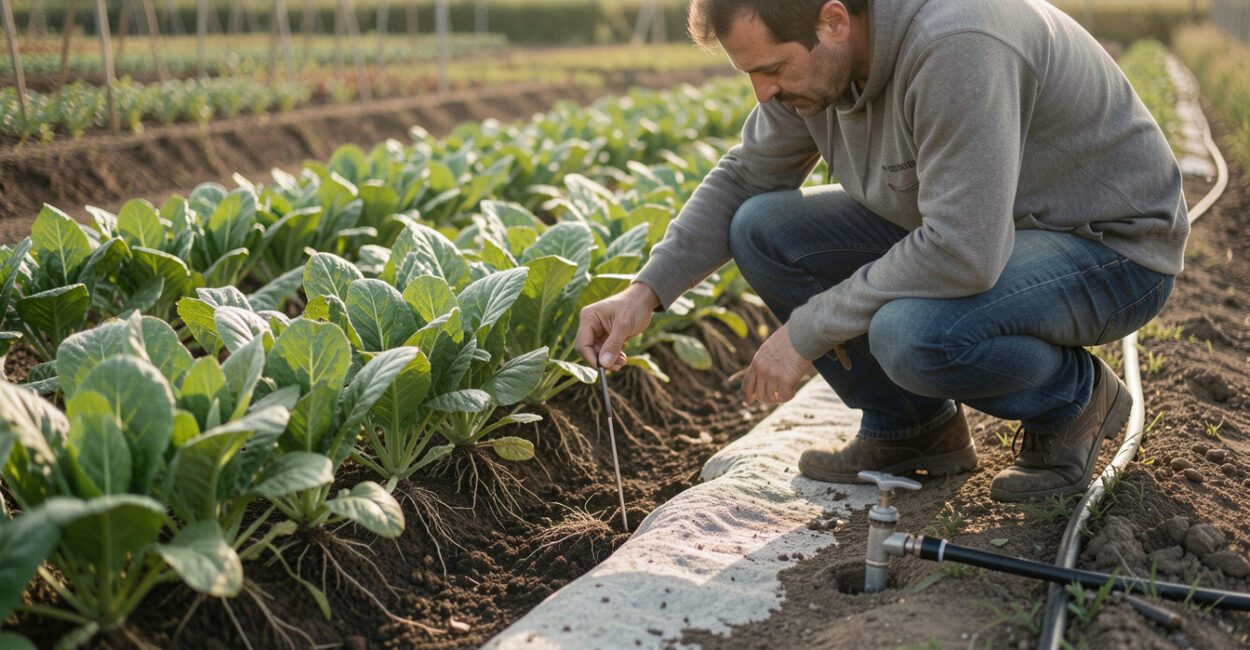
A vegetable bed can look dry on top while its root zone still holds enough water; the reverse can happen after a hot, windy afternoon. For small farms, useful watering thresholds turn soil-moisture information into a decision: when to begin irrigating, how much of the root zone to replenish, and when to stop.
The right trigger depends on soil texture, effective rooting depth, and crop growth stage. A sensor reading is only a decision aid when it represents the soil where active roots are taking up water. Set a threshold for those conditions, then refine it as field observations and measurements accumulate.
What Watering Thresholds Should Tell You
In irrigation management, a watering threshold is a defined soil-water condition at which an irrigation action is triggered. For a grower, it answers when to irrigate by showing when water available to the crop has fallen far enough to justify replenishment, rather than relying on a surface glance or a fixed calendar.
Keep the start trigger separate from the stop target. The trigger tells you when to begin; the stop target describes how much water to apply before ending the set. Treating the same sensor number as both can lead to shallow wetting, runoff, or water moving below the roots.
A common framework uses available water capacity (AWC): the water held between field capacity, after excess water has drained, and the permanent wilting point, when plants can no longer recover from water stress. The irrigation trigger is often expressed as a permitted depletion of that available water. The appropriate depletion varies by crop, soil, rooting depth, and growth stage.
A useful irrigation trigger measures water stress risk in the active root zone, not dryness at the surface.
Why Soil Texture Changes the Trigger
Soil texture affects both how much plant-available water the soil can store and how quickly that supply changes. Sandy soils generally hold less available water and drain faster, so crops can reach stress sooner between irrigations. Clay soils often store more total water, but some of it may be held too tightly for roots to use; they can also infiltrate water slowly and become waterlogged if irrigation is excessive.
That is why a single volumetric water-content reading cannot serve as a universal trigger. A reading of 20% may represent a very different fraction of available water in sand than in clay. Use field-specific information where possible: a soil-water retention curve, local extension guidance, or sensor calibration for the soil in question.
The USDA Natural Resources Conservation Service provides soil information that can help identify texture and related soil properties. A soil map is a starting point, not a substitute for checking variation within a bed or field.

Match Readings to the Effective Root Zone
The effective root zone is the soil depth where most active water uptake occurs. Place measurements within that zone, because a sensor above it can report dry soil while deeper roots still have access to moisture, and a sensor below it may stay wet after the upper root zone has become depleted.
For a shallow-rooted crop, a measurement near the surface may be informative, but it can also swing sharply after sun, wind, or a light shower. For deeper-rooted crops, readings at more than one depth help show whether irrigation is wetting the full active zone or merely the top layer. Sensor placement should reflect crop roots and irrigation method, not convenience alone.
For beds with uneven soil or variable irrigation coverage, one sensor can give false confidence. Compare representative locations, especially where texture, slope, or emitter flow changes. An occasional hand check with a soil probe can reveal a dry layer or a saturated zone that a single reading misses.
Adjust Triggers as Crops Develop
Crop water sensitivity changes through the season. During establishment, roots occupy a small volume, so the surface layer can dry quickly and seedlings may need closer monitoring. As roots deepen, the monitored zone should expand. During flowering, fruit set, or other yield-sensitive stages, many crops tolerate less depletion than during less sensitive periods.
Use crop-specific recommendations as a guide, then account for weather and field conditions. High evaporative demand can shorten the time between trigger and stress; cool, cloudy weather can lengthen it. The Food and Agriculture Organization of the United Nations offers crop-water guidance, but local climate, variety, and production goals still matter.
Choose a Measurement Method That Fits the Field
Soil-moisture sensor readings are useful when you know what the instrument measures, where it is installed, and how that value relates to the crop’s available water. Tensiometers measure soil-water tension, while capacitance and time-domain reflectometry sensors estimate volumetric water content. Their numbers are not interchangeable.
Hand-feel checks and soil probes cost little and help verify conditions between sensors, though they are less consistent across people and soil types. Weather-based estimates can support irrigation scheduling, but they estimate water use rather than directly measuring what remains in a particular root zone. Combining a measurement with field inspection is often more dependable than treating any one method as definitive.
For a broader look at equipment and monitoring, see this overview of smart irrigation systems used on farms. If software is part of the plan, compare it with precision irrigation software options, while checking that the platform supports the sensor type and crop records you actually use.
Start and Stop Irrigation Without Guessing
Start irrigating when measurements from the active root zone approach the crop’s chosen depletion limit and expected rainfall is unlikely to refill it in time. Confirm the reading against recent weather, crop stage, and a second observation when the result conflicts with what the field shows.
Stop when the intended portion of the root zone has been replenished, while avoiding prolonged saturation or drainage below the roots. A lower-depth sensor can help: if it becomes wet soon after irrigation begins, water may be moving past the main uptake zone. In drip systems, check whether water has spread laterally enough to reach roots; a wet spot directly beneath an emitter can conceal dry soil between emitters.
| Observation | What it may indicate | Practical response |
|---|---|---|
| Upper root zone is dry; deeper zone remains moist | Partial depletion or shallow-root activity | Check crop stage and root depth before irrigating |
| Both measured depths approach the trigger | Root-zone water supply is declining | Begin irrigation if rain will not arrive in time |
| Lower sensor wets early during irrigation | Water may be moving below active roots | Reduce the application or use shorter sets and reassess |
Example: A sandy bed of young vegetables has a sensor near the shallow root zone and another below it. The upper reading nears the farm’s trigger while the deeper one remains moist, so the grower checks a soil sample and applies a short irrigation. If the lower sensor responds quickly, the next set can be shorter rather than repeating the same run time.
Build and Refine a Farm-Specific Threshold
Begin with a crop-specific recommendation and the soil’s water-holding properties. Install sensors at representative sites and relevant depths, record readings alongside irrigation, rainfall, and crop stage, then compare those records with soil checks and plant response. Adjust the trigger if stress appears before irrigation or if the soil stays saturated afterward.
- Map soil texture and note zones that differ in drainage or irrigation coverage.
- Define the active root depth for each crop and update it as roots develop.
- Choose a start trigger based on available water and crop sensitivity, then define a separate stop target.
- Review sensor trends after rain and irrigation; investigate readings that conflict with field conditions.
There is no universally correct depletion percentage or sensor value for every crop and farm. Thresholds depend on soil calibration, sensor placement, irrigation uniformity, rooting pattern, and local recommendations. If waterlogging, salinity, poor drainage, or persistent uneven wetting complicates readings, a local extension specialist or irrigation professional can help diagnose the system. For equipment investment decisions, this analysis of precision irrigation payback offers a separate economic perspective.
Start with one representative field zone and keep a simple log of readings, irrigation events, and crop response. A threshold becomes more useful when each season’s records show whether it protected the crop without pushing water beyond the roots.
Frequently Asked Questions
How Do I Know When It is Time to Irrigate?
Check moisture in the active root zone against a crop- and soil-appropriate depletion trigger. Confirm the reading with recent rainfall, weather, crop stage, and a soil probe or other field observation.
Can I Use the Same Threshold for Every Field?
Usually not. Texture, sensor calibration, rooting depth, irrigation layout, and crop sensitivity can all differ between fields, so identical readings may call for different actions.
Should Irrigation Thresholds Change as a Crop Grows?
Yes. Root depth changes as crops develop, and sensitivity to water stress varies by growth stage. Reassess sensor depth and trigger levels as the crop moves from establishment into stages such as flowering or fruit set.
How Can I Tell When to Stop Irrigating?
Stop when the planned root-zone area has received enough water to replenish the intended depletion. Watch for runoff, prolonged saturation, or a lower-depth sensor responding early, which can signal water is moving below active roots.
Do Soil-moisture Sensors Need Calibration?
Many sensors benefit from soil-specific calibration, particularly those that estimate volumetric water content. Follow the manufacturer’s method, compare readings with soil samples where practical, and treat unverified readings as trends rather than exact measures of plant-available water.