Skip to content
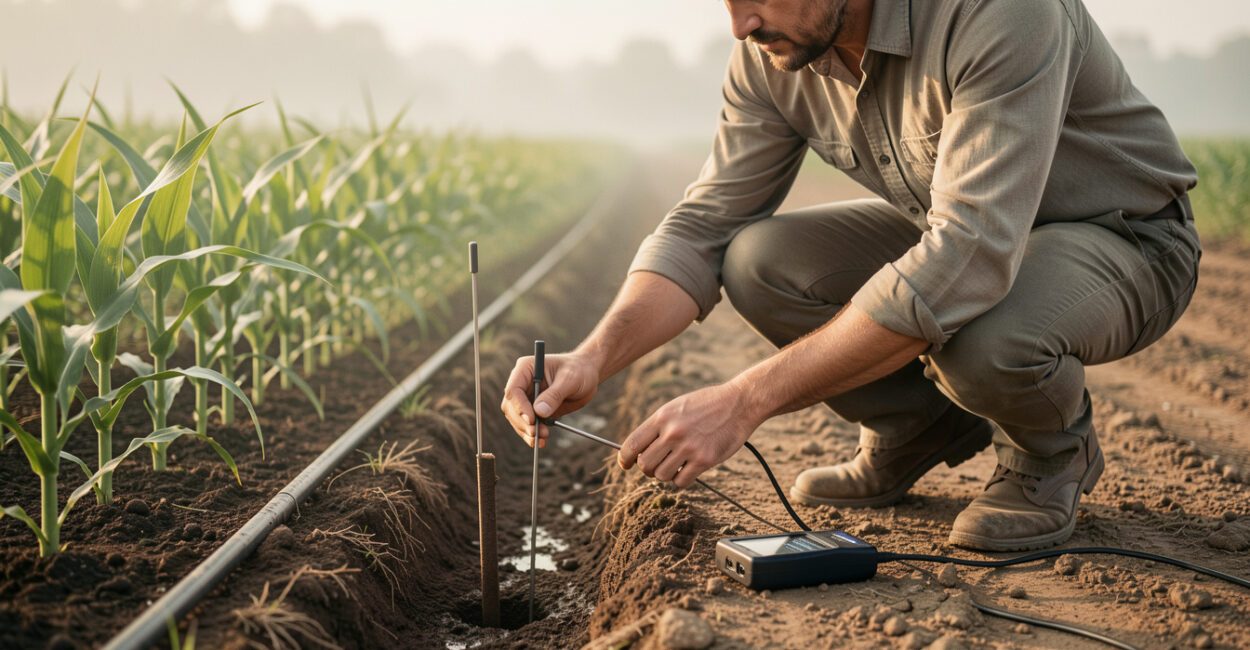
A probe can report a steady moisture value while the soil around it is too dry—or saturated after irrigation. Sensor calibration helps connect an instrument’s output to a meaningful measurement, but a dependable soil moisture sensor reading also depends on soil type, installation, and field checks.
For irrigation management, the goal is to know whether a probe’s data reflect conditions in the active root zone closely enough to guide a decision. A manufacturer’s default setting can be a useful starting point, but it is not a universal prescription for every field.
Before You Start
- Identify the probe model and measurement type, such as volumetric water content or soil water tension.
- Find the manufacturer’s calibration instructions and operating limits.
- Note the soil texture and the probe’s depth and position in the root zone.
- Gather recent readings, irrigation or rainfall records, and a way to inspect nearby soil.
1. Understand What Sensor Calibration Means for Irrigation
Sensor calibration is the process of comparing an instrument’s output with a reference measurement and establishing or adjusting the relationship between them. For a soil moisture probe, calibration helps translate its electrical response into a moisture value or other soil-water measure that can be interpreted for a particular soil and application.
To check whether readings can guide irrigation, compare probe data with conditions in the root zone, confirm that the probe is installed as intended, and follow the manufacturer’s calibration method when evidence points to a measurement bias. Keep the crop, soil, depth, and recent water inputs in view; a reading alone does not define when to irrigate.
Probe types matter. A capacitance or frequency-domain sensor estimates water content from the soil’s electrical properties, while a tensiometer measures soil water tension. Their outputs and calibration methods differ, so a procedure intended for one instrument may be unsuitable for another.
2. Account for Soil Type and Field Conditions
Soil texture affects how water is held and how a sensor responds. Sand, silt, and clay differ in pore size, drainage, and water retention; organic matter and salinity can also influence readings, particularly for instruments affected by electrical conductivity. As a result, the same displayed water-content value can have different implications in different soils.
Installation changes the measurement, too. An air gap around a probe, smeared soil in a narrow installation slot, or a sensor placed outside the representative root zone can produce data that look plausible but do not describe the crop’s water supply. A useful field detail: after installation, soil settling and wetting can change probe contact, so an abrupt early shift may reflect the installation site rather than a calibration fault.
Use soil texture and structure information to interpret readings alongside a soil test and field inspection. The soil testing options for farmers can help put probe measurements in the context of the field’s soil properties.
There is no single conversion or threshold that applies to every probe and soil. Even within one field, texture, compaction, and water distribution can vary by management zone.

3. Check Readings Against Conditions in the Field
Compare the sensor record with more than one independent clue. Check the soil near the probe at its installed depth, review rainfall and irrigation timing, and look for a response after a known wetting event. If possible, compare a representative soil sample’s water content with a suitable reference method; follow that method’s sampling and handling instructions.
For a practical verification, record the probe value and time, inspect the nearby root-zone soil, and repeat the observation at another representative point. Compare like with like: the same depth, similar soil, and similar timing relative to irrigation. A hand-feel assessment can flag a mismatch, but it is qualitative and cannot establish an exact water-content value.
After irrigation, the sensor should respond in a way consistent with water reaching its depth. A shallow probe may rise quickly while a deeper one changes later or not at all. That pattern can reveal infiltration or wetting depth; it does not automatically mean either probe needs adjustment.
For broader system context, see how smart irrigation systems use field data alongside other controls. Sensor data are most useful when interpreted with crop stage, root depth, weather, and irrigation-system performance.
4. Look for Signs That Adjustment May Be Needed
Consider calibration or adjustment when repeated checks show a consistent offset from a trusted reference, when readings fall outside the instrument’s specified range, or when the signal no longer responds plausibly to wetting and drying. First rule out simpler causes: power or wiring faults, damaged cables, poor soil contact, incorrect depth, blocked data transmission, or a changed sensor configuration.
Look for a pattern rather than reacting to one unusual value. A flat line during changing field conditions, sudden jumps without a matching rain or irrigation event, or disagreement between neighboring probes can justify an investigation. Differences may also reflect real variation in soil or water distribution.
Before changing a calibration setting, save the original configuration and document the reason for the change. If several probes show the same unexpected shift after a software update or configuration change, investigate the shared system before adjusting each sensor independently.
5. Separate Calibration, Verification, and Troubleshooting
These actions answer different questions. Calibration establishes or changes the relationship between an instrument’s output and a reference; verification checks whether the instrument still performs acceptably; troubleshooting searches for the cause of a problem. Routine cleaning, inspection, and data review support reliability but do not, by themselves, calibrate a probe.
| Action | What it checks | Typical response |
|---|---|---|
| Calibration | Whether output matches a reference relationship | Apply the manufacturer’s procedure or a soil-specific calibration |
| Verification | Whether readings remain plausible and repeatable | Compare against field conditions or a suitable reference |
| Troubleshooting | Why readings or data transmission look wrong | Inspect installation, power, wiring, settings, and communications |
The USDA Natural Resources Conservation Service provides soil and water conservation resources that can support field interpretation. For instrument-specific calibration steps and tolerances, use the probe maker’s documentation; general agricultural guidance cannot replace it.
6. Use Dependable Readings to Guide Irrigation
Base irrigation decisions on a pattern of readings from relevant depths, interpreted with crop demand, soil conditions, and recent water inputs. A single sensor may miss differences across a field, while probes at multiple depths can help distinguish shallow wetting from replenishment deeper in the root zone.
Unreliable data can push decisions in either direction. A falsely dry reading may trigger unnecessary watering, increasing pumping costs and the risk of drainage or nutrient movement. A falsely wet reading can delay irrigation until the crop experiences water stress.
Pair probe data with weather and irrigation records, and confirm that water reaches the intended root zone. This is the practical bridge between measurement and action. A wider precision irrigation software workflow can help organize readings, but software cannot correct a poorly installed or misinterpreted probe.
7. Follow a Verification and Maintenance Routine
Set a schedule that reflects the sensor model, field conditions, and the cost of a wrong irrigation decision. Check readings during commissioning, after installation disturbance or maintenance, and when the data conflict with field observations. Follow the manufacturer’s interval for formal calibration; there is no reliable universal calendar interval for every technology.
- Record sensor model, serial number, depth, location, soil zone, and calibration settings.
- Inspect the probe, cable, connections, power supply, and data logger for damage or configuration changes.
- Compare readings with field conditions after a meaningful wetting event and during drying.
- Document reference checks, adjustments, and the reason for each change.
- Escalate persistent disagreement to the manufacturer’s support or a qualified measurement specialist.
For a struggling sensor, check installation and data quality before changing calibration values. If the probe remains inconsistent after those checks, follow its service guidance or replace it rather than letting uncertain data dictate irrigation.
Frequently Asked Questions
How Can Growers Check Soil Moisture Readings Against Actual Field Conditions?
Compare readings with soil at the probe’s depth, irrigation or rainfall records, and the sensor’s response after wetting. For a numerical check, use an appropriate reference method and compare samples from similar soil and depth.
Does a Soil Moisture Probe Need a Separate Calibration for Each Soil Type?
Some probes benefit from soil-specific calibration, particularly when accuracy requirements are high or soil properties affect the sensor response. Follow the manufacturer’s guidance; do not apply one field’s calibration to a different soil without checking its suitability.
Can I Calibrate a Probe by Placing It in a Cup of Water?
Not as a general method. A cup of water does not reproduce soil structure, contact, salinity, or the sensor’s intended measurement conditions, and many probes require a specified soil-based or factory procedure.
How Do I Know Whether a Probe is Faulty or Just Installed Poorly?
Inspect depth, orientation, soil contact, wiring, power, and data settings first. If the probe still gives implausible or inconsistent readings after installation issues are ruled out, compare it with a suitable reference and consult the manufacturer’s diagnostics.
Can a Sensor Reading Alone Tell Me When to Irrigate?
No. Use it with crop stage, root depth, soil type, weather, and irrigation history. A reading is evidence about conditions at one location and depth, not a complete measure of the whole field’s water needs.
When Should I Recalibrate Rather Than Verify the Sensor?
Verify when you want to confirm that readings remain plausible and repeatable. Recalibrate when a reference comparison shows a persistent measurement bias and the manufacturer’s procedure supports adjustment; investigate installation or hardware faults first.