Skip to content
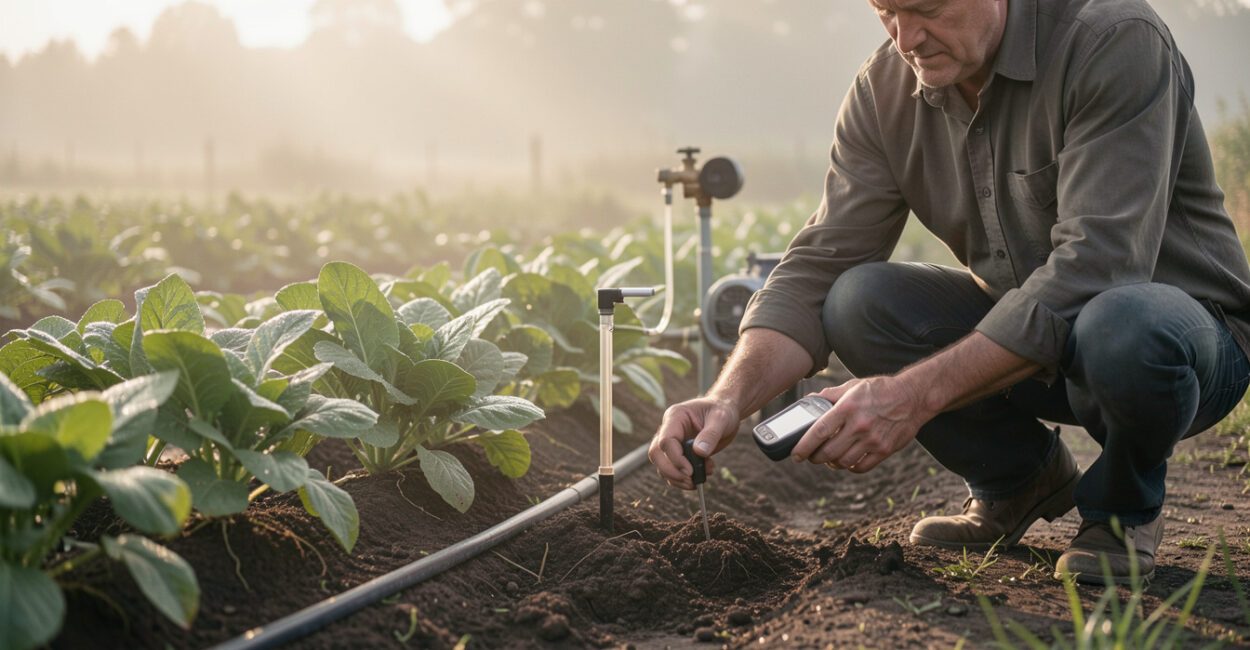
A pump can run for hours while a crop’s root zone is already wet—or stop before water reaches the roots that need it. For small farms, soil moisture sensors make irrigation decisions more precise by showing how much water is available at specific depths. Used alongside crop checks and a well-maintained system, they can help reduce unnecessary pumping and water use.
The practical goal is to learn when to irrigate and how much to apply, not to chase a single ideal reading. The right setup depends on crop, soil, field layout, water source, and budget; a few well-placed sensors can be more useful than a complex system installed in the wrong spots.
How Soil Moisture Sensors Improve Small Farm Irrigation
Soil moisture sensors measure water content or soil water tension at a particular point and depth. For a small farm, readings help show whether the crop’s active root zone is drying toward a management threshold, so the operator can time irrigation before stress develops and avoid watering soil that still holds enough available water.
That timing can lower pumping costs when it prevents unnecessary run time. The size of any savings depends on the irrigation method, pump efficiency, energy source, soil, and weather; sensors cannot guarantee a fixed reduction. They also cannot fix a clogged drip line, uneven sprinkler coverage, or a pump that runs inefficiently.
Think of a sensor as one part of a decision process. Check its reading against crop growth stage, recent rain, soil feel, and system performance. The USDA Natural Resources Conservation Service explains irrigation water management as matching water applications to crop needs and soil conditions in its irrigation water management resources.
A useful sensor reading earns its value when it changes a watering decision.
Choose a Sensor Setup That Fits Your Farm
Small farm irrigation systems do not need the same level of automation. Start with how often someone can check the field, how many distinct soil or crop zones need monitoring, and whether remote access would change a real decision.
| Setup | Best fit | Trade-off |
|---|---|---|
| Handheld probe or portable meter | A few beds or blocks checked by an operator | Lower entry cost, but readings require regular field visits and consistent sampling. |
| Wired sensors with a local logger | A fixed zone where repeated readings matter | More installation work; cables and logger need protection and upkeep. |
| Wireless sensors and a dashboard | Several separated zones or fields where travel is costly | Higher equipment and connectivity costs; signal, batteries, and subscriptions may add maintenance. |
A handheld setup is often a sensible first step: it lets a grower learn how readings change after irrigation before committing to remote monitoring. Wireless equipment is valuable when alerts or remote trends can prevent missed checks, but it adds little if someone already walks the field every day.
For broader comparisons of automation and control options, see this overview of smart irrigation systems used on farms. A smaller operation can also compare the cost of basic monitoring with the options discussed in this guide to precision irrigation payback, while treating any reported returns as specific to the farms and systems described.

Place Sensors Where They Can Guide Decisions
Install sensors in representative management zones, where soil type, slope, crop, irrigation method, or planting date differs enough to change watering decisions. Avoid field edges, wheel tracks, unusual wet spots, and locations directly beside an emitter unless those are the conditions you intend to monitor.
Depth matters as much as location. Put a sensor in the active root zone to track water available to the crop; where practical, add a deeper sensor near the bottom of that zone. The upper reading helps indicate drying, while the deeper one can warn that water is moving below the roots. Root depth changes with crop, growth stage, soil restrictions, and management, so confirm it for the crop rather than using a universal depth.
One sensor rarely represents a whole farm. A useful starting point is one monitoring station per distinct irrigation or soil zone, then add stations where readings or crop response repeatedly differ. With a handheld probe, take repeat measurements at marked locations and depths; consistency makes those readings comparable over time.
Before burying a probe, check its installation instructions and ensure close soil contact. Air gaps, disturbed soil, or a sensor set at the wrong depth can produce readings that look precise but do not describe the root zone.
Read also: Sensor Placement: Where to Install Probes in Small Fields
Read also: Solar-Powered Soil Sensors: Reliable Data Off-Grid
Read also: Reading Soil Moisture Data: Turning Numbers Into Action
Read Moisture Data and Decide When to Irrigate
Readings tell you when to irrigate by showing how the monitored soil is changing relative to a crop- and soil-specific trigger. That trigger may be expressed as volumetric water content, soil water tension, or a device-specific scale; it should come from local recommendations, sensor calibration, and field observation, not a threshold copied from another crop or soil.
Look at the trend, not just a single number. A steadily drying root-zone reading, combined with warm weather and crop demand, is stronger evidence than one unexpectedly low value. After rain or irrigation, the shallow sensor may respond quickly while a deeper sensor changes later; that lag can indicate whether water is reaching the roots or draining beneath them.
Use the same sensor type and measurement method when comparing readings. Tension readings and water-content readings describe soil moisture differently, and their numbers cannot be compared directly. The University of California’s Agriculture and Natural Resources program offers crop and irrigation guidance through UC Agriculture and Natural Resources; local extension recommendations can help set a starting trigger for your crop and soil.
Calculate How Much Water to Apply
To estimate how much water to apply, first identify the root-zone deficit: the difference between current soil water and the level you want to restore, across the active rooting depth. For volumetric water content, a simplified estimate is: water depth in inches = moisture deficit as a decimal × soil depth in inches. This estimates net water needed in the soil, not the gross amount to run through an irrigation system.
For example, if the average deficit across a 12-inch root zone is 0.05, the estimated net refill is 0.6 inches. The grower would then adjust for system application efficiency and avoid applying more than the soil can hold without deep drainage. This is a planning estimate; layered soils, salinity management, shallow roots, or uneven application may require a different approach.
Convert the target depth to run time using the system’s measured application rate. For drip, estimate delivery from emitter flow and spacing over the irrigated area; for sprinklers, use catch cans to measure actual application. Run time calculated from a catalog rating can mislead if pressure, clogged emitters, leaks, or elevation differences affect delivery.
For a small block with drip tape, a grower might find the upper sensor drying while a deeper sensor remains moist. That pattern suggests checking whether a shorter irrigation can refill the active roots without pushing more water below them. The next reading after the cycle tests the decision.
Build a Practical Irrigation Plan and Measure Savings
A workable schedule pairs sensor checks with a repeatable record. Note readings at consistent times, rainfall, irrigation start and stop times, crop stage, and any visible stress. After each application, check whether moisture moved through the intended root zone and whether the system applied water evenly.
- Group fields into zones that share crop, soil, and irrigation behavior.
- Set a provisional crop-specific trigger, then validate it against field conditions.
- Record applied water or run time, pump hours, and energy use where available.
- Review the record weekly and revise the trigger or run time when patterns persist.
Compare water and energy use against a meaningful baseline, such as the same block and crop stage in a previous period, while noting differences in weather and acreage. A water meter is more informative than pump hours alone; energy bills or pump power records help distinguish reduced irrigation from a change in pumping efficiency.
If the operation manages records across several blocks, a simple log or farm-management tool can help. This comparison of farm management software for farms under 500 acres may help assess whether digital tracking is worth the cost.
Avoid Sensor and Irrigation Mistakes That Waste Water
The most common failure is treating a sensor as a field-wide answer. A probe in heavier soil can stay wet while a nearby sandy strip dries; an emitter-side reading can hide dry soil farther along the row. Use representative locations and check the crop itself.
Other errors are easier to prevent:
- Changing measurement methods: Comparing different devices or depths can create a false trend. Keep methods consistent and document any change.
- Ignoring system uniformity: Inspect filters, pressure, leaks, and emitter flow before assuming the sensor’s recommendation will reach every plant.
- Watering to a number without context: Crop stage, rainfall, root depth, and soil texture all affect the right trigger.
- Skipping post-irrigation checks: A sensor response helps reveal whether the application was too short, excessive, or uneven.
Sensor-based scheduling has limits. Saline soils, very shallow or rocky profiles, mixed soil layers, and rapidly changing weather can complicate interpretation; some sensors also need soil-specific calibration. If crop stress persists despite readings that indicate adequate moisture, inspect the root zone and irrigation distribution, and consult a local extension specialist or irrigation professional before changing thresholds across the farm.
Start with one representative zone: mark sensor locations, record a baseline, and check readings before and after irrigation for several cycles. Once the readings agree with soil and crop conditions, expand the routine to other zones and compare water use and pumping energy over time.
📱 See this content as a Web Story
Keep reading in this series
Frequently Asked Questions
Can One Sensor Control Irrigation for an Entire Small Farm?
Only if the monitored area is genuinely representative. Different crops, soils, slopes, or irrigation systems usually require separate monitoring zones.
How Often Should Soil Moisture Readings Be Checked?
Check often enough to catch changes before the crop reaches stress, with frequency adjusted for weather, soil, crop stage, and irrigation method. During hot, dry periods or rapid crop growth, daily checks may be warranted; less variable conditions may allow a longer interval.
Do Sensors Work with Drip Irrigation and Sprinklers?
Yes. Place them where they represent the wetted root zone, then verify application with emitter checks or catch cans. Sensors guide timing and depth decisions, while those field tests show whether the system distributes water as intended.